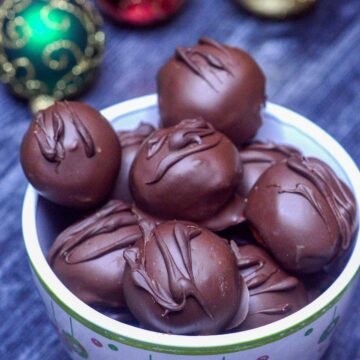
These Homemade Chocolate Peanut Butter Balls taste just like Reese's cups. Yum! I love to make these chocolate covered peanut butter balls for a sweet treat, just one of these does the job. These are easy to make and are a great food gift idea IF you don't eat them all yourself that is!
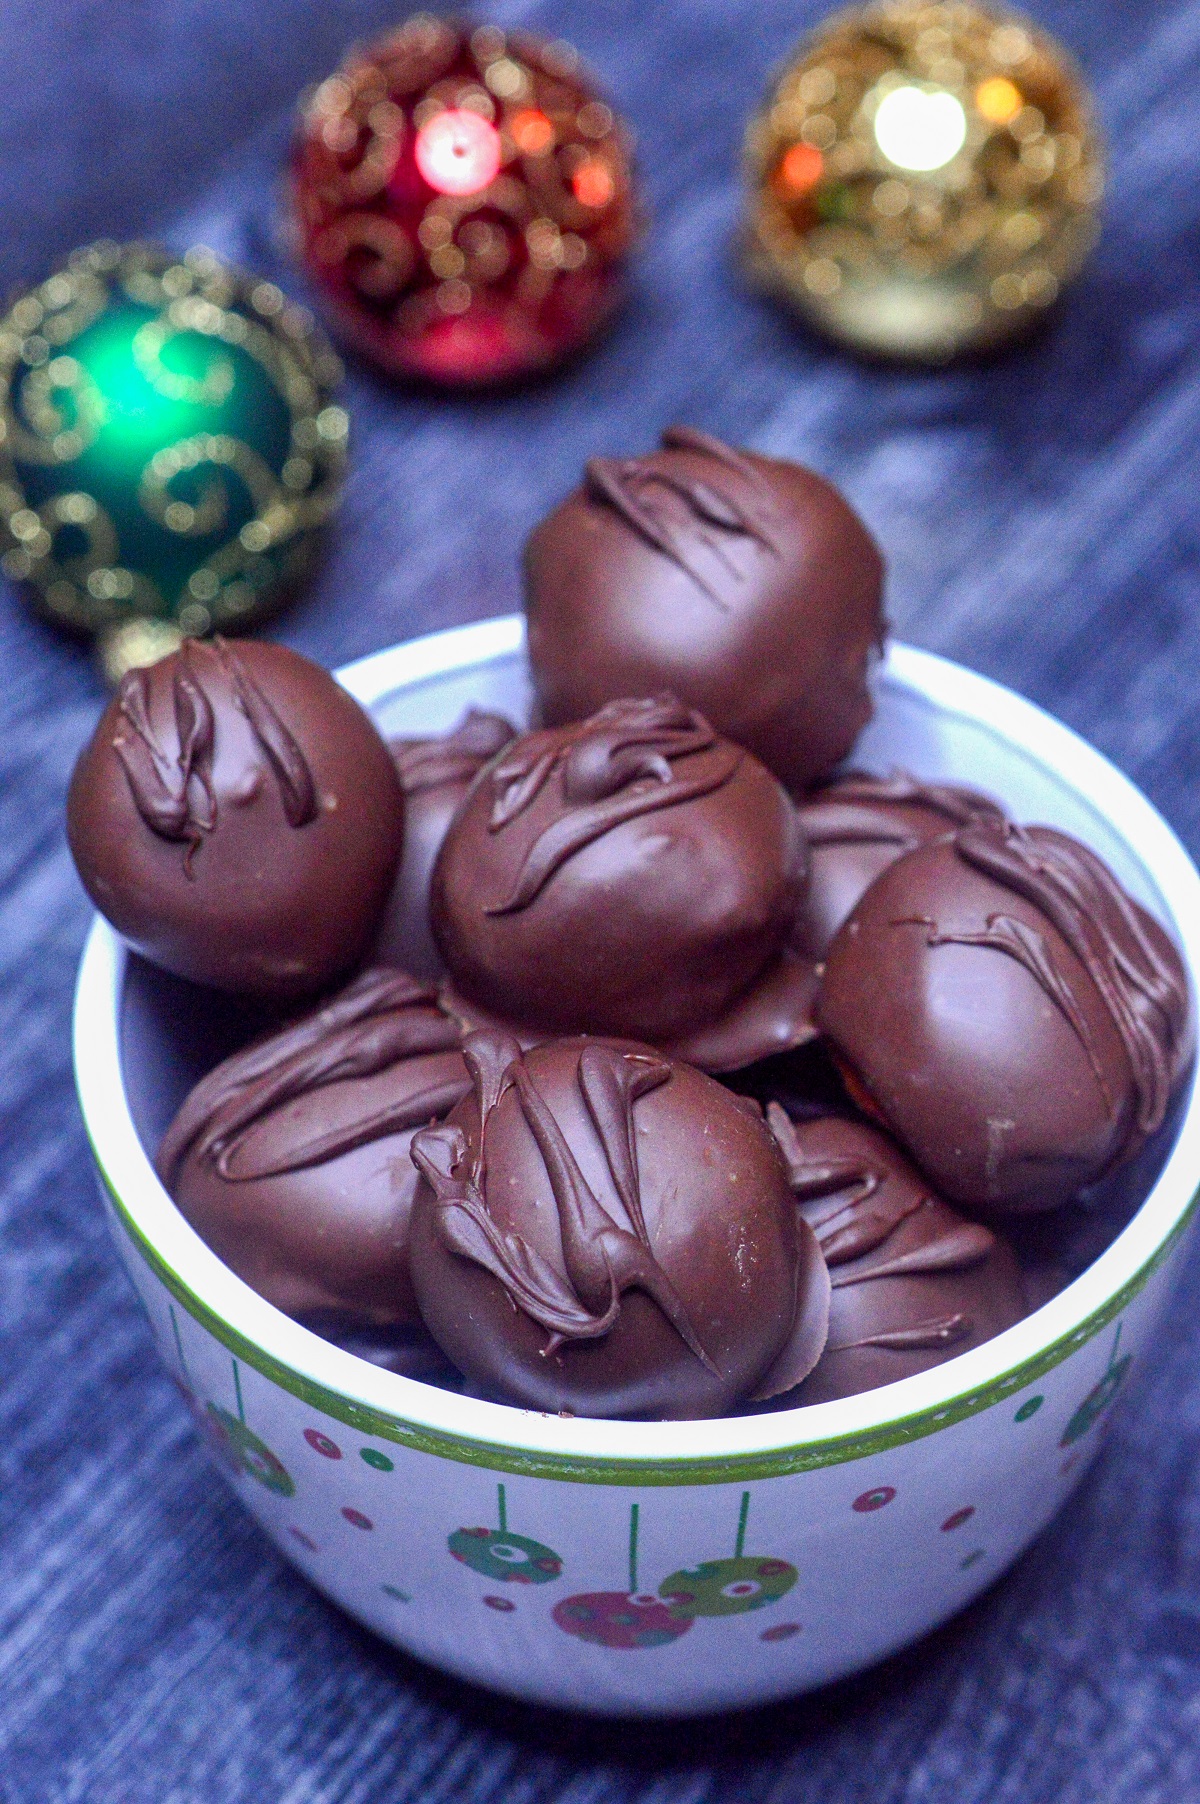
I love making and giving food gifts for holidays, host or hostess gifts or just because. When I make something my kids like, and they say something positive to me about it, I always reply "MWL" (made with love). I say that's why it tastes good.
The same could be said about making and gifting these homemade Chocolate and Peanut Butter Balls also called peanut Butter Truffles, or any food gift for that matter.
It takes just 4-5 ingredients to make these and in my opinion, they are a great recipe to get the kids involved with making. They can mix and roll then later you do the dipping.
These fun peanut butter chocolate balls tasle like a Reese's Cup. Just like these 4 Ingredient Chocolate and Peanut Butter Squares I have been makeing forever (no dipping required).
Table of Contents
Peanut Butter Balls Ingredients
- creamy peanut butter
- butter
- powdered sugar
- chocolate for melting
- optional: sprinkles for decorating
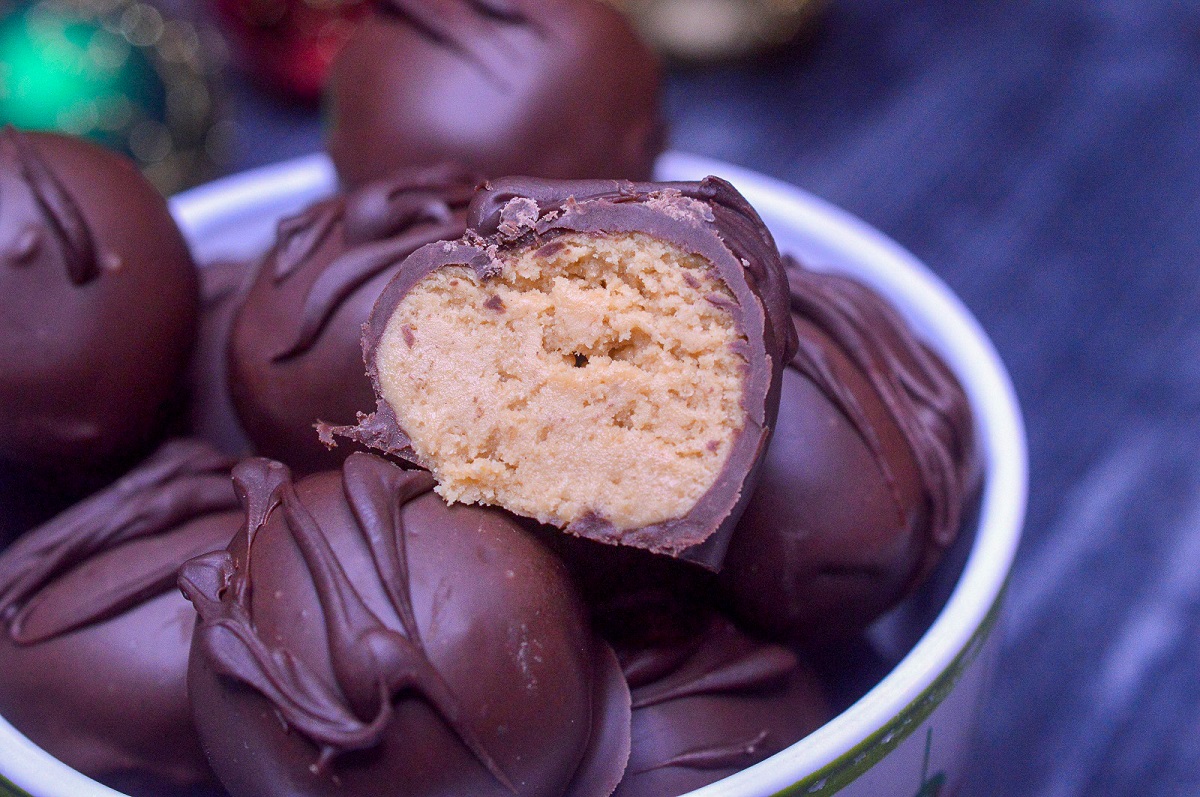
Instructions
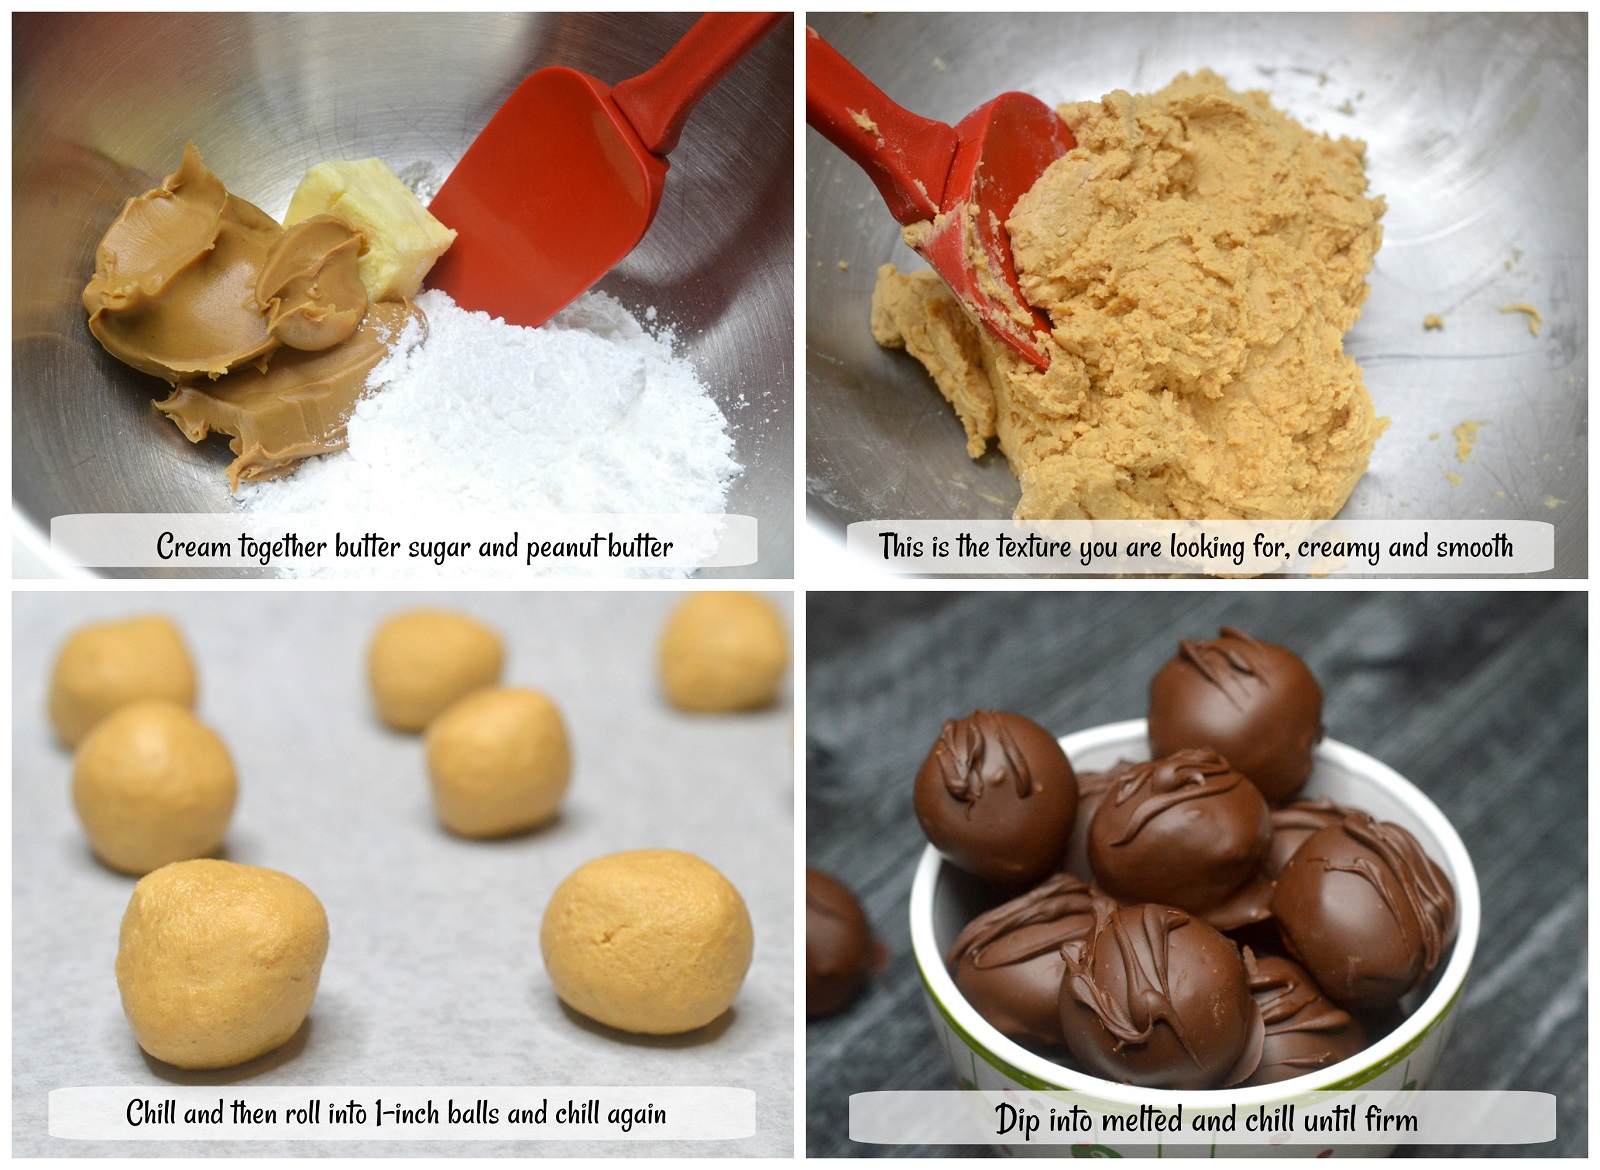
- To make Chocolate Peanut Butter Balls gather the ingredients and combine the filling ingredients intil smooth.
- Place the peanut butter filling mixture into the refrigerator for 30 minutes (or more) or to place on the quick freeze shelf for 15-20 minutes.
- Line a baking sheet with parchment paper and roll the mixture into balls, placing them on the prepared baking sheet. (Chilling the batter makes it easier and less messy to roll).
- Once you have all the balls rolled. Place them into the freezer for 20-30 minutes.
- Meanwhile, prepare the chocolate coating by setting a metal bowl over a small pot of water and placing chocolate pieces in.
- Bring water to a simmer and whisk until melted. This will only take a couple of minutes. Watch out for steam escaping from the pot. I tilt my metal bowl on an angle and allow the steam to escape out the back. Wear potholders to be safe.
- Whisk firmly and quickly until smooth. Then quickly coat the balls one by one in the chocolate. I place a ball in with a small spoon, spoon chocolate over it and then using a thin metal icing spatula like this one (less than $4), quickly lift it out from the chocolate and place it on your parchment paper-lined baking sheet. This simple tool is the most efficient way to lift most things I dip, out of melted chocolate efficiently without wasting much.
- Once all balls are coated, chill until chocolate is firm.
Variations
- Swap milk chocolate for dark chocolate or even white chocolate.
- Swap creamy peanut butter from crunchy peanut butter.
- Once chocolate hardens, decorate with a swirl or drizzle of chocolate to accent tops (or not), or use another color melted chocolate (white, green, red etc) for a pop of color. Find colorful chocolate melting candy at your local craft store. I prefer Wilton brand.
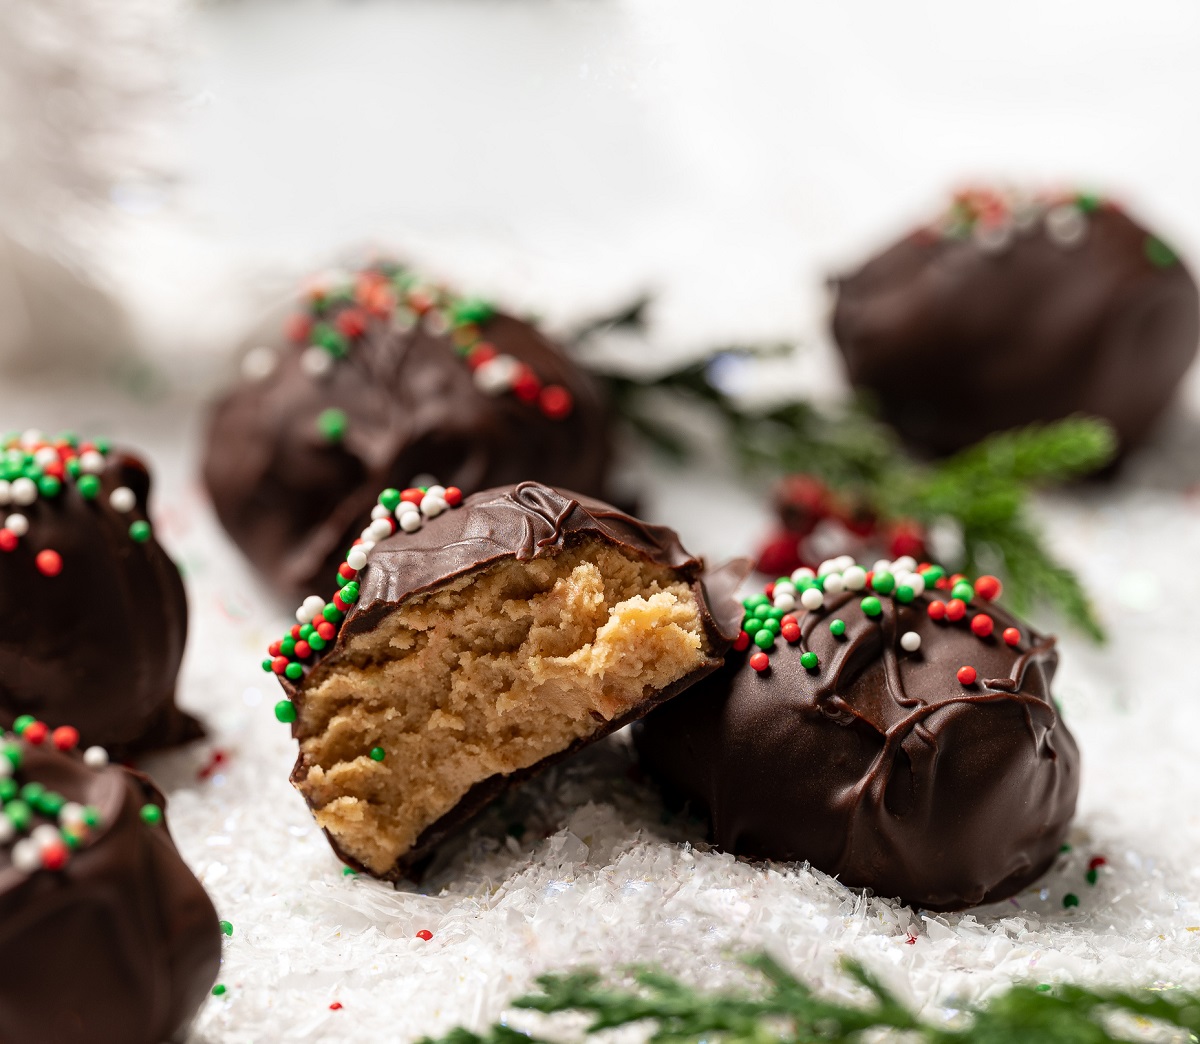
- Add an edible garnish to the tops of the chocolate balls just after dipping (while still wet) like sprinkles, jimmies, silver or gold balls, small snowflakes etc.
What is the best way to melt chocolate for dipping?
- Sure popping chocolate in a microwave to melt it sounds easy and fast, however for best results, simply heat water to a boil in a small pot and place a larger metal bowl on top of it, whisking until the chocolate is melted and smooth.
- This will take less than 3 minutes. For the smoothest silkiest chocolate, I like to add 1 teaspoon of shortening, coconut oil (the type that is solid at room temperature) for every 1 cup of chocolate.
Tips
- Water is your enemy when melting chocolate, so be sure your bowl is dry.
- Wear oven mitts when melting chocolate just in case of escaping seam or hot pot.
- Dont have your heat too high when melting the chocolate, you want it just warm enough to melt the chocolate.
- You can make the peanut butter filling 1-3 days ahead. Store in refrigerator tightly covered in a ball in plastic wrap. Form into balls and dip when ready.
- If your peanut butter filling is crumbly, add additional butter until it becomes smooth.
I hope you have fun making, eating & gifting these chocolate covered peanut butter balls. These are a perfect recipe to get your kids in the kitchen to heal or take the lead on. Food memories are the best memories! XO Colleen
If you enjoy making food gifts, check out this post of 40+ Homemade Food Gift Ideas.
Holiday Homemade Food Gift Ideas
Recipe originally posted December, 2019. Inspired by She Wears Many Hats. Post contains an Amazon Affiliate link which means I could get a small commission if an item I suggest is purchased.
Chocolate Peanut Butter Balls
Ingredients
- ¾ cup creamy peanut butter
- ¼ cup butter room temperature.
- 1 ½ cups powdered sugar
- 12 ounces chocolate such as semi-sweet chocolate chips or chocolate melting bars
- Optional 1 ½ teaspoons shortening
Instructions
- Mix the peanut butter, butter and powdered sugar together until smooth. For this you can do it by hand using a spatula or via a mixer.
- Place mixture into the refrigerator for 30 minutes (or more) or place on the quick freeze shelf of your freezer or 15-20 minutes.
- Line a baking sheet with parchment paper and roll the mixture into balls, placing them on the prepared baking sheet. (Chilling the batter makes it easier and less messy to roll).
- Once you have all the balls rolled. Place them into the freezer for 20-30 minutes.
- When ready to dip the peanut butter balls, fill a small pot ¼ of the way with water and bring it to a boil.
- Carefully set a large metal bowl over the pot with the chocolate in it. Whisk chocolate until melted. This will only take a couple of minutes. Watch out for steam escaping from the put. I tilt my metal bowl on an angle and allow the steam to escape out the back.
- Whisk firmly and quickly until smooth.
- Then quickly coat the balls one by one in the chocolate. I place a ball in with a small spoon, spoon chocolate over it and then using athin metal icing spatula like this one (less than $4), quickly lift it out from the chocolate and place it on your parchment paper-lined baking sheet.
- Once all balls are coated, chill until chocolate is firm. This simple tool is the most efficient way to lift most things I dip out efficiently without taking too much chocolate with them.
Notes
Nutrition


Leave a Reply